New article
Recently updated
Creating a group

Who is this article for?
Administrators who want to learn to create a group.
Administrator permissions are required.
This article explains how to create a new group within the Data Manager application.
You will learn the step-by-step process to add and configure a custom group effectively.
1. Creating a custom group
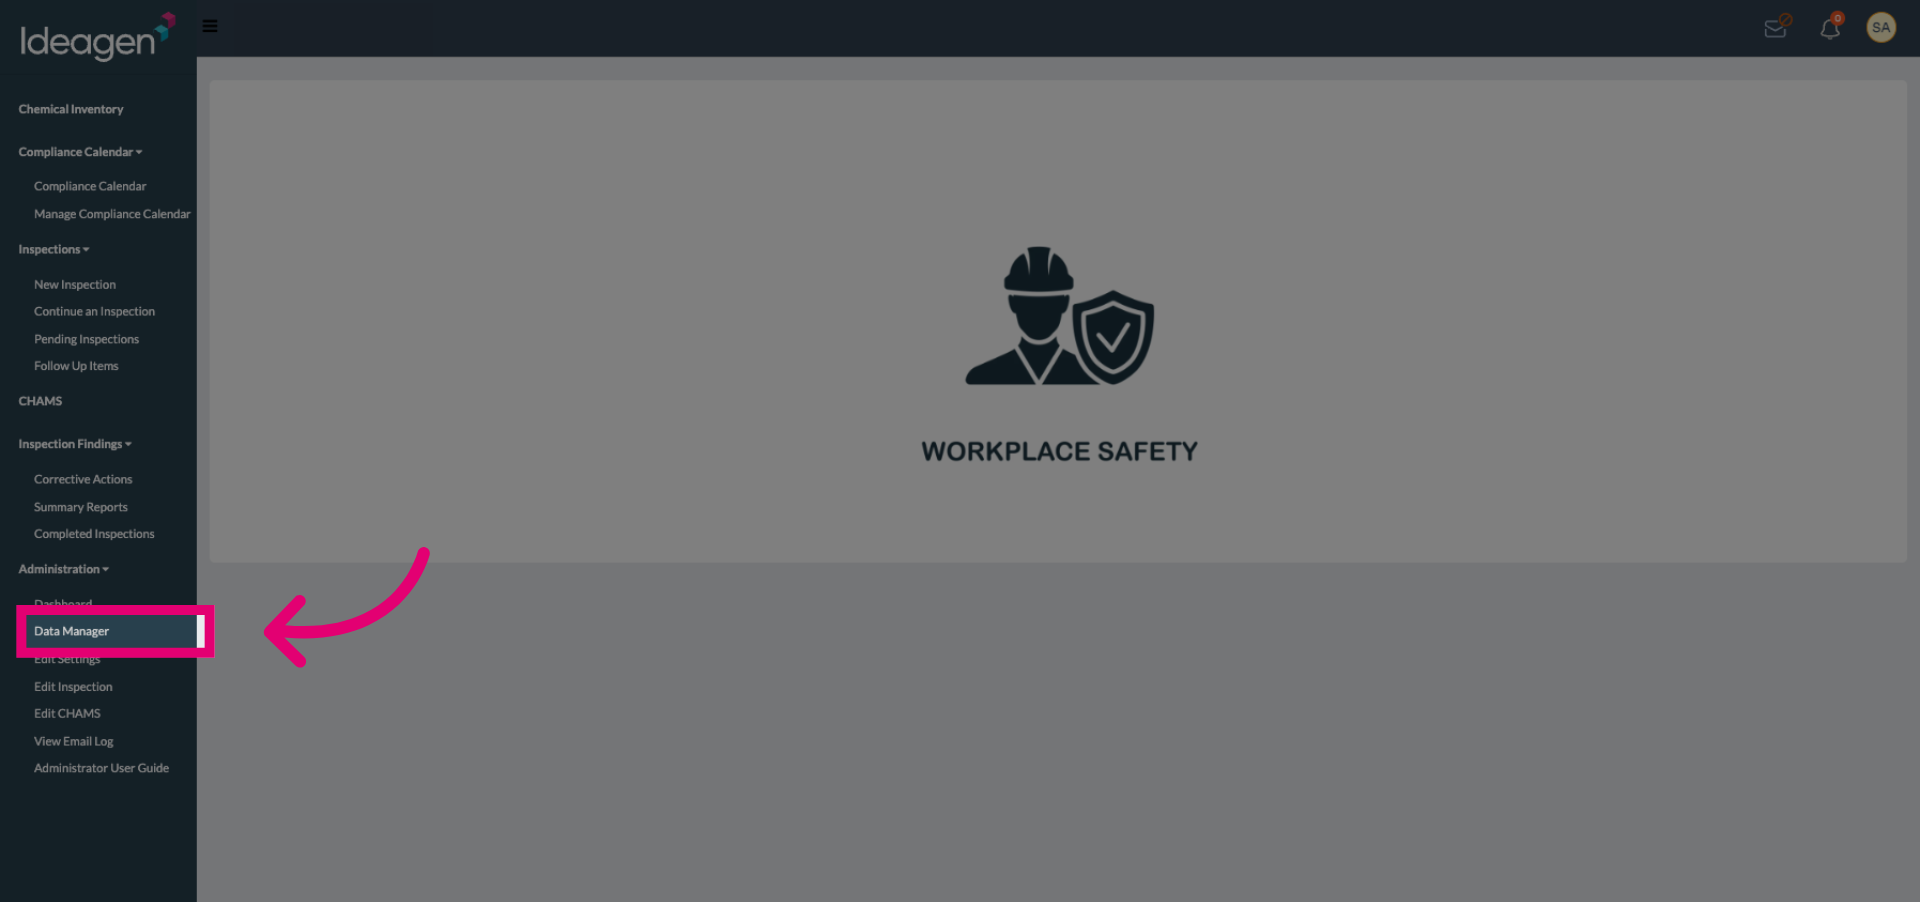
Click the Data Manager section in the application to begin managing your data groups.
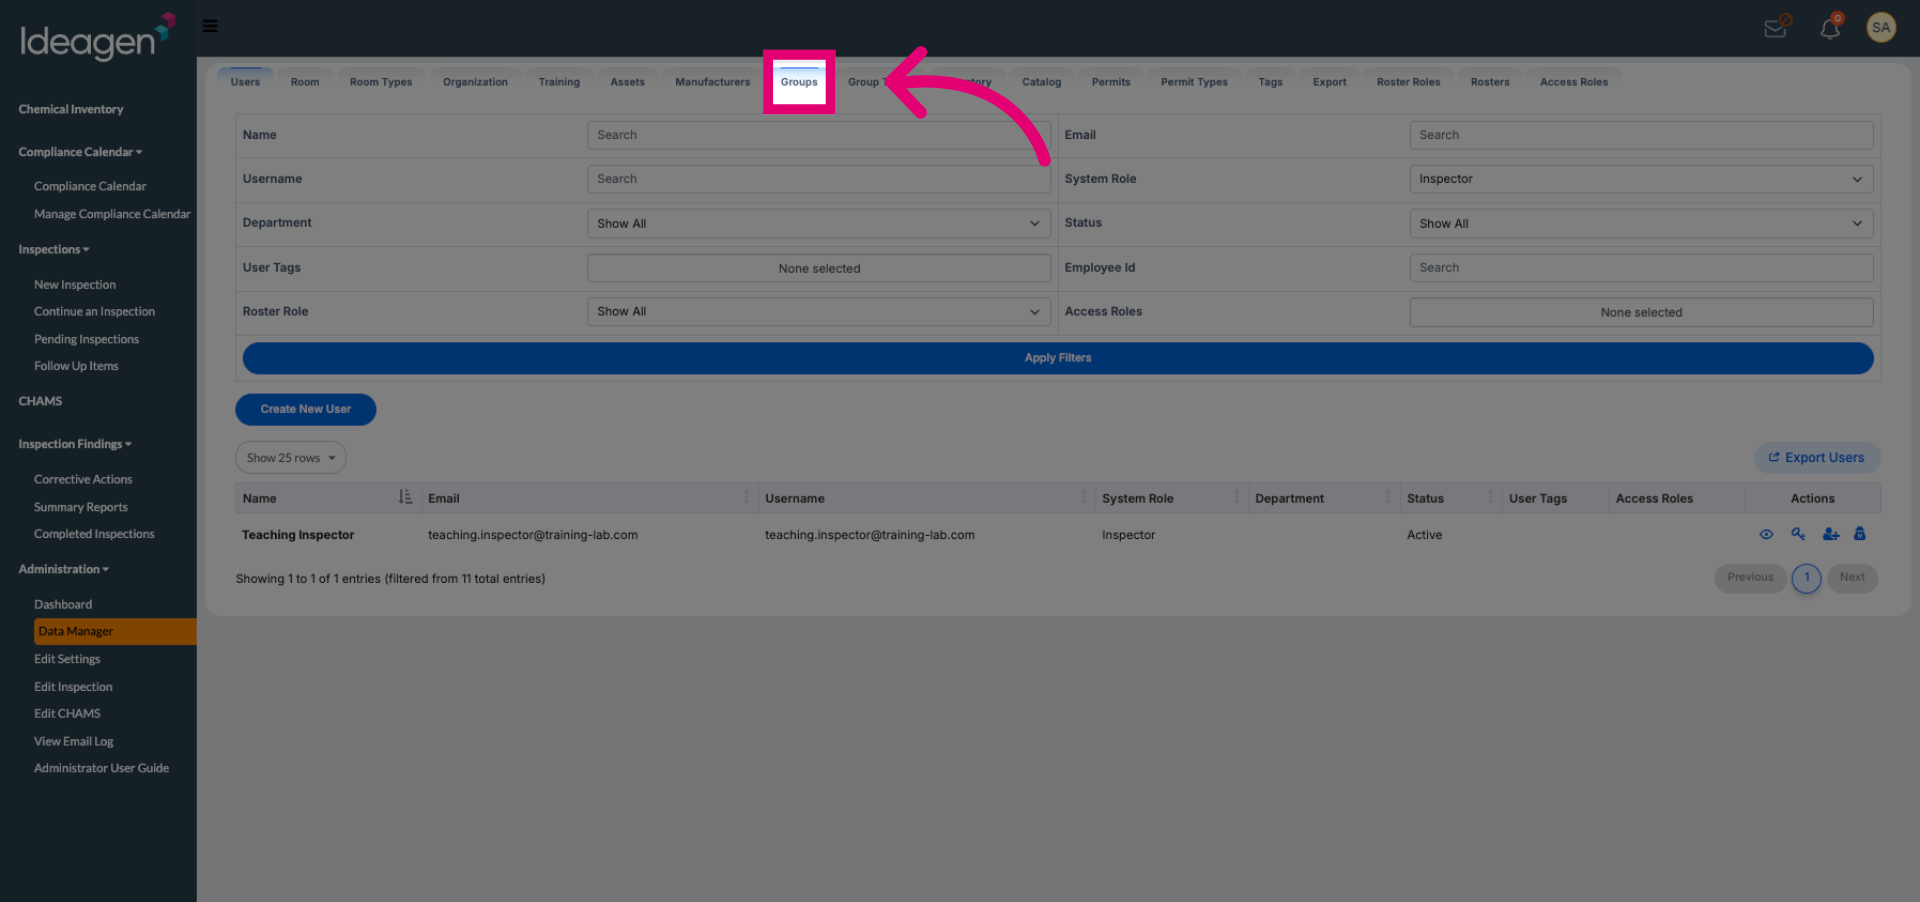
Click the Groups option within Data Manager to view and manage existing groups.
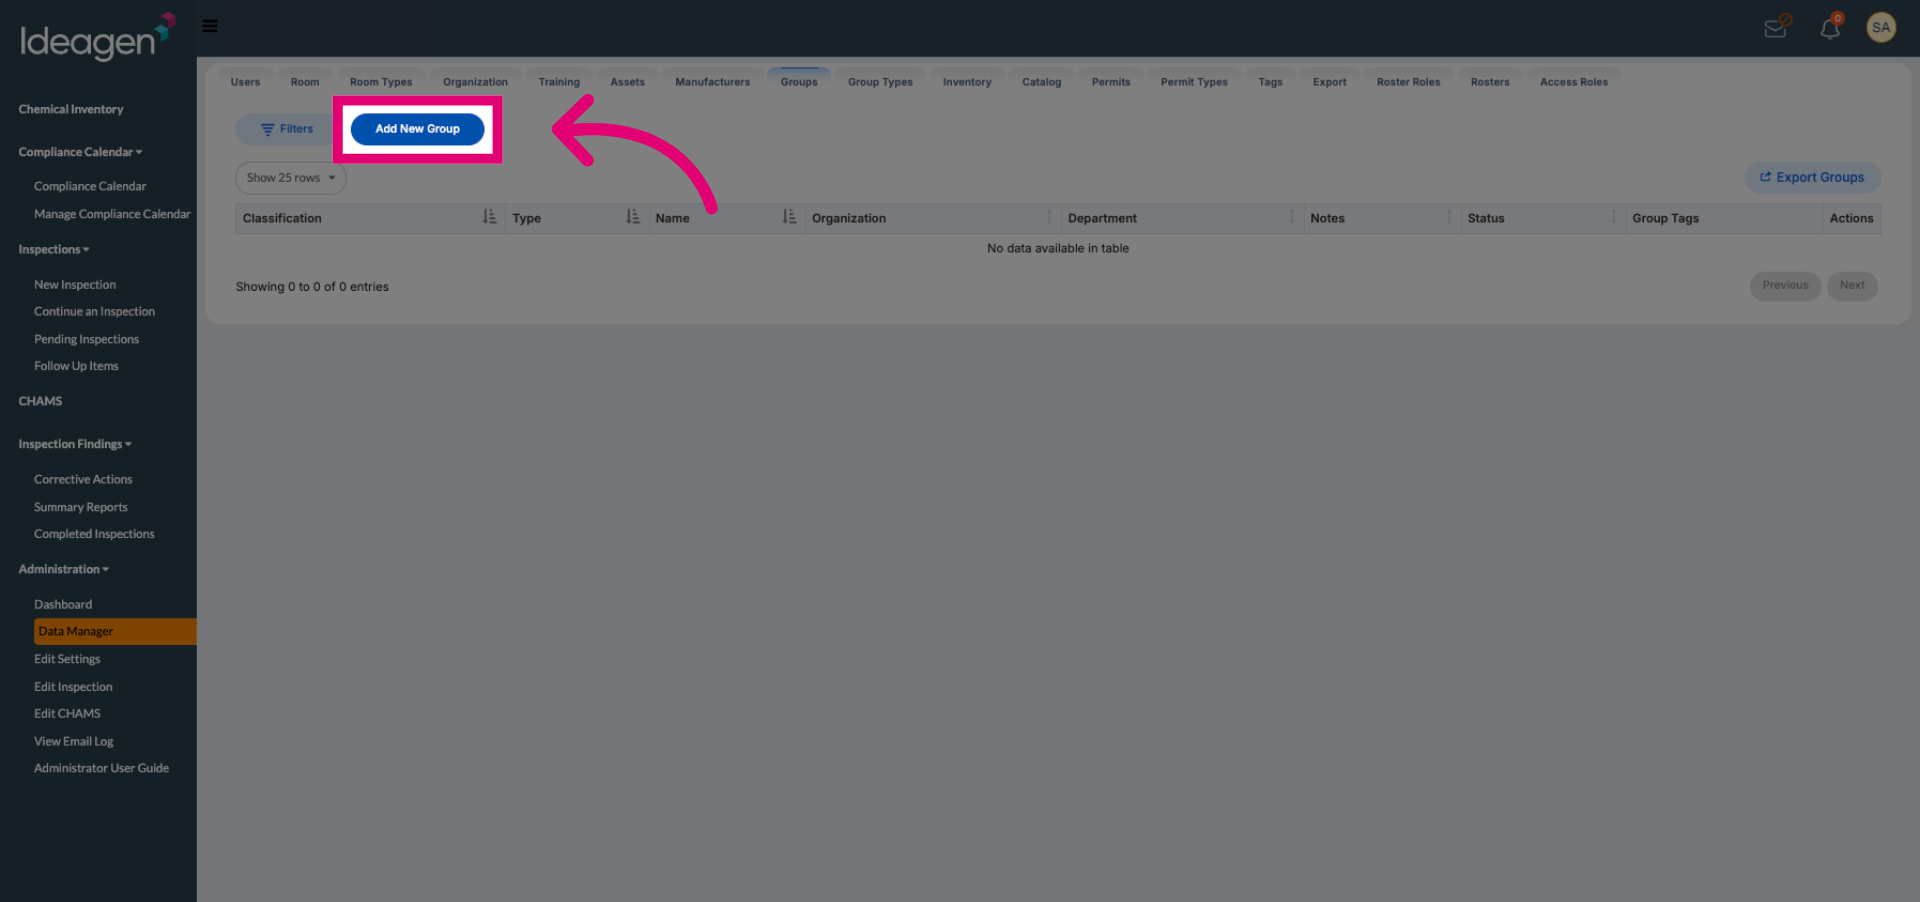
Click the Add New Group button to start creating a new group.
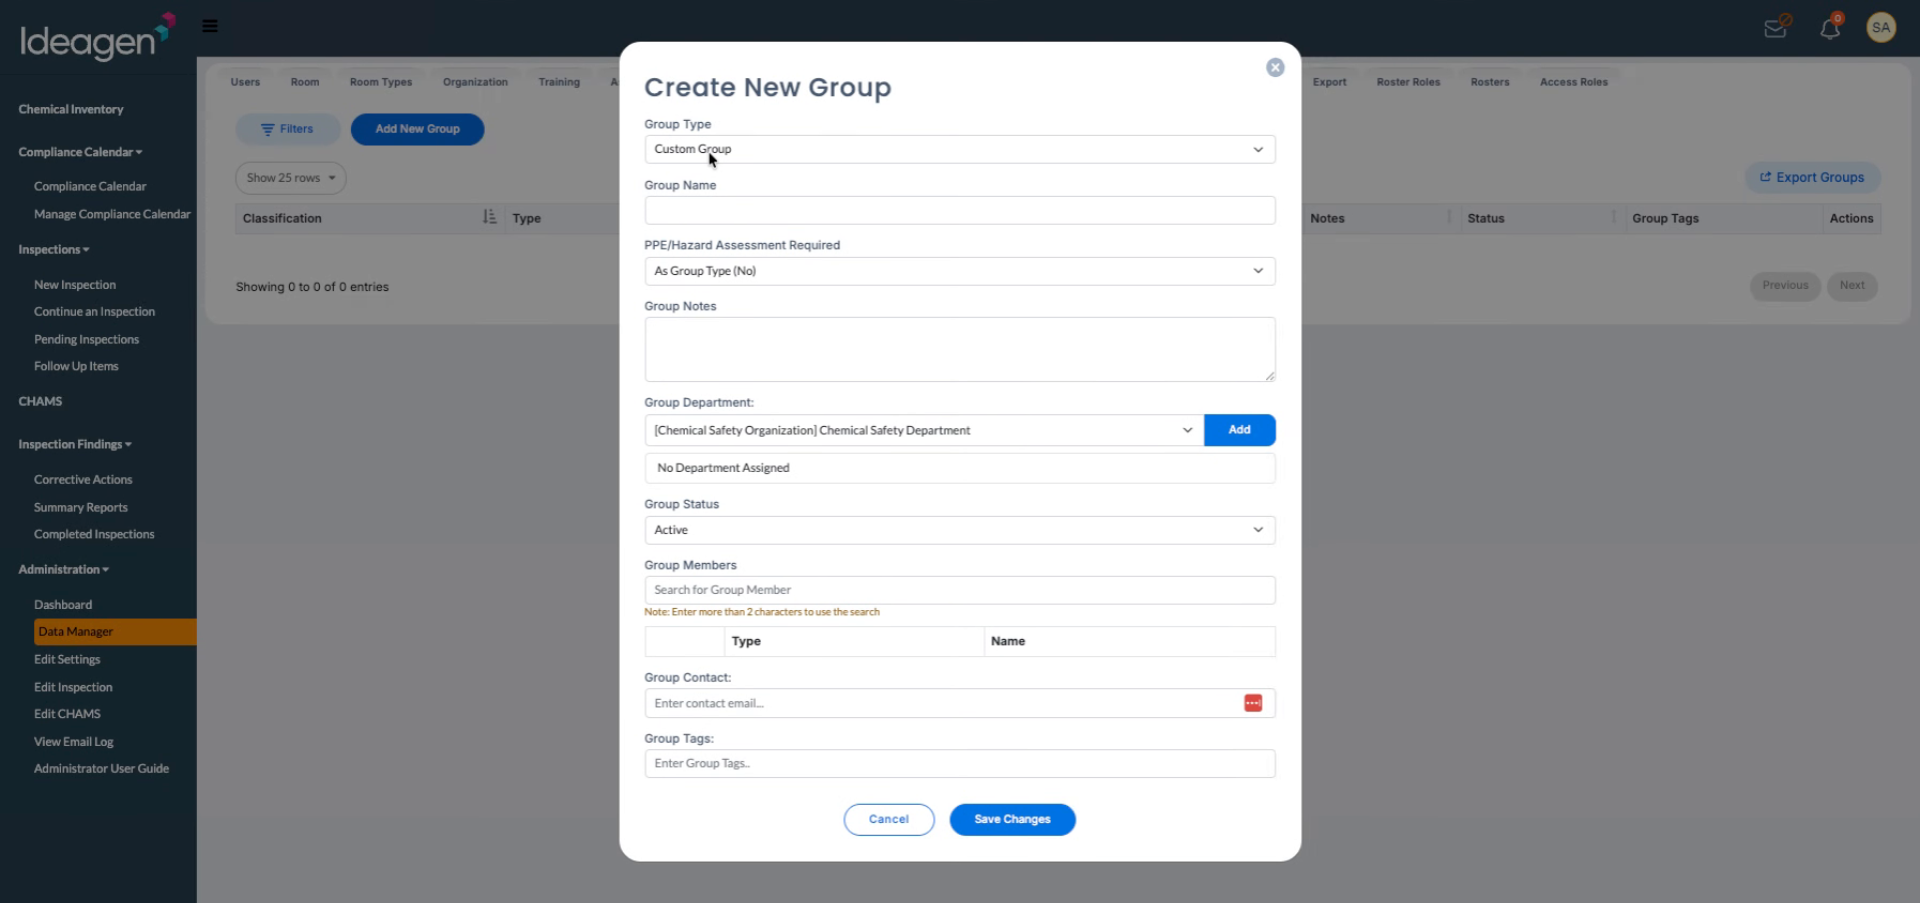
Click the Custom Group option to specify the type of group you want to create.
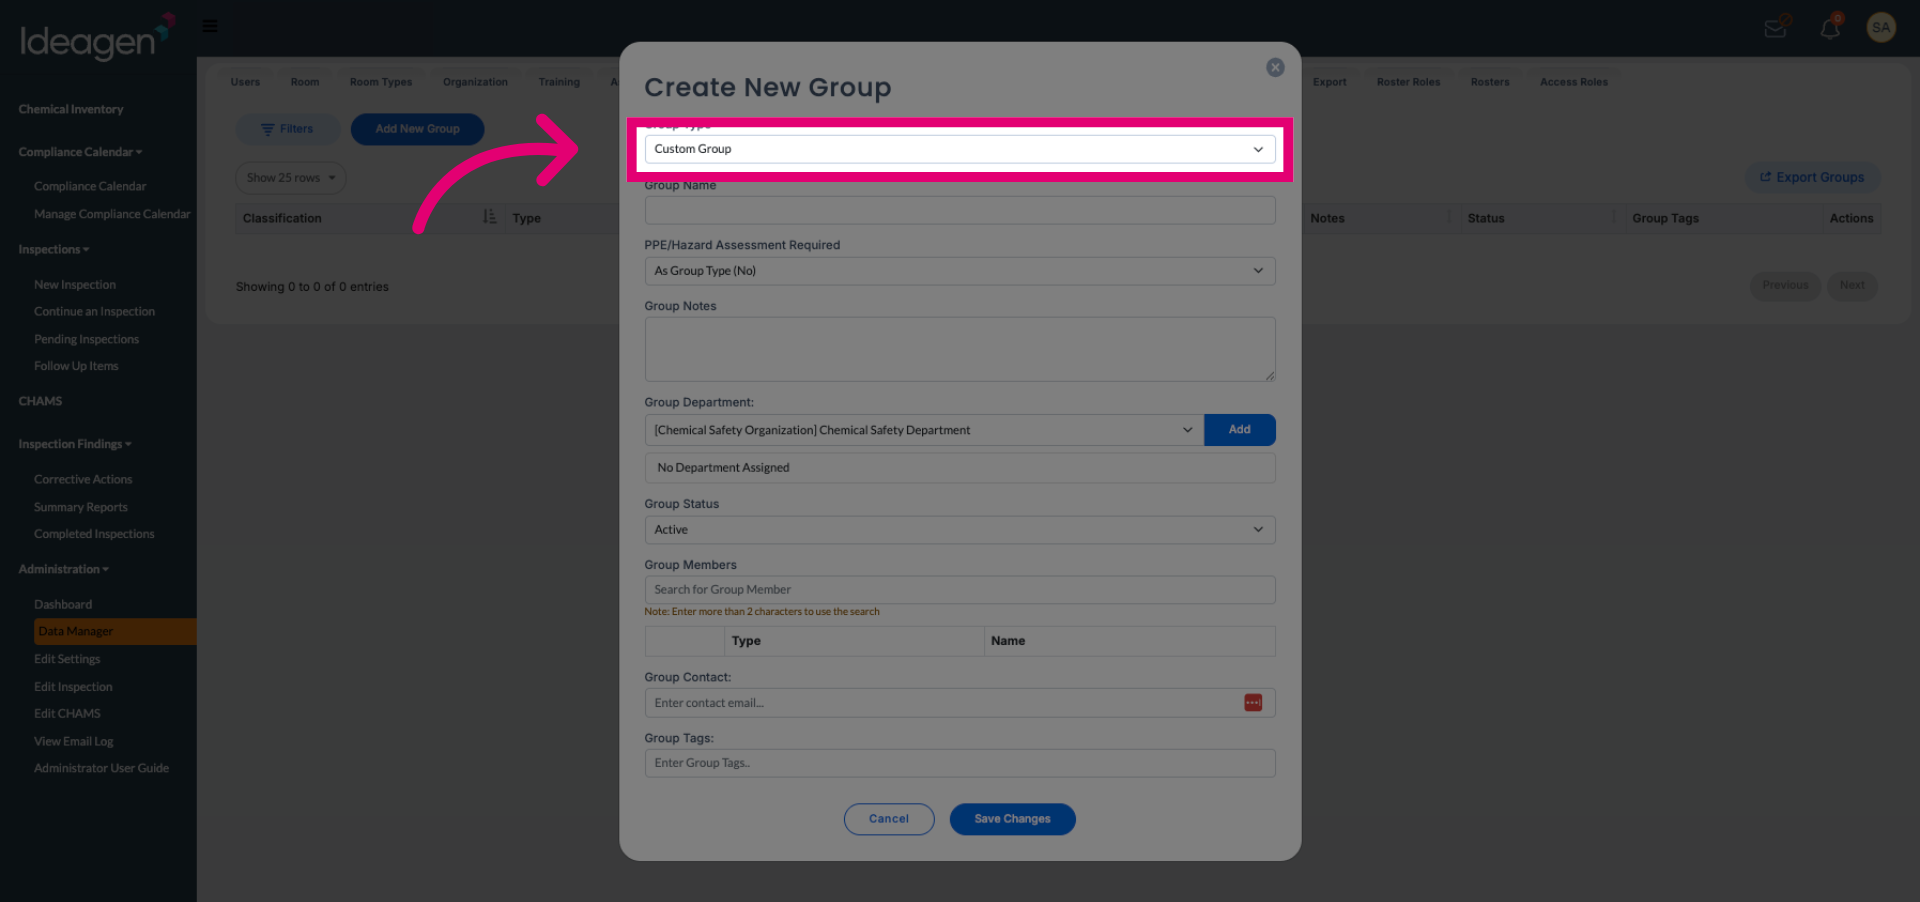
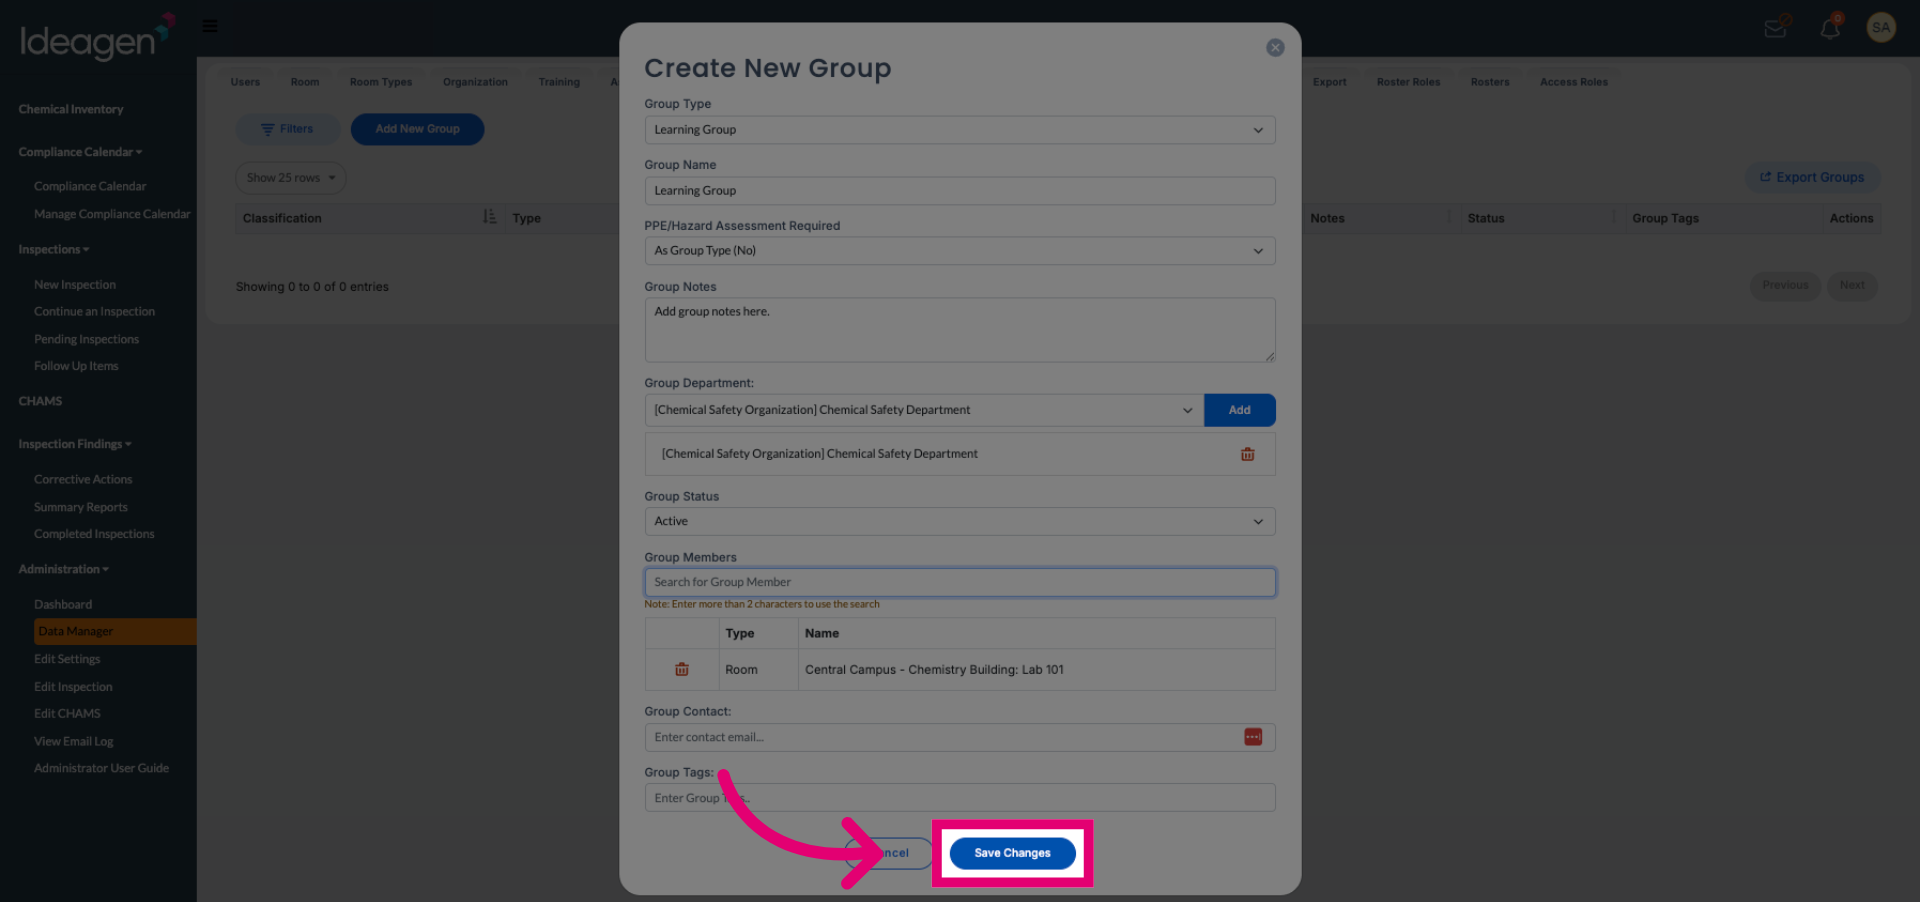
Enter the details for your custom group to define its identity and purpose.
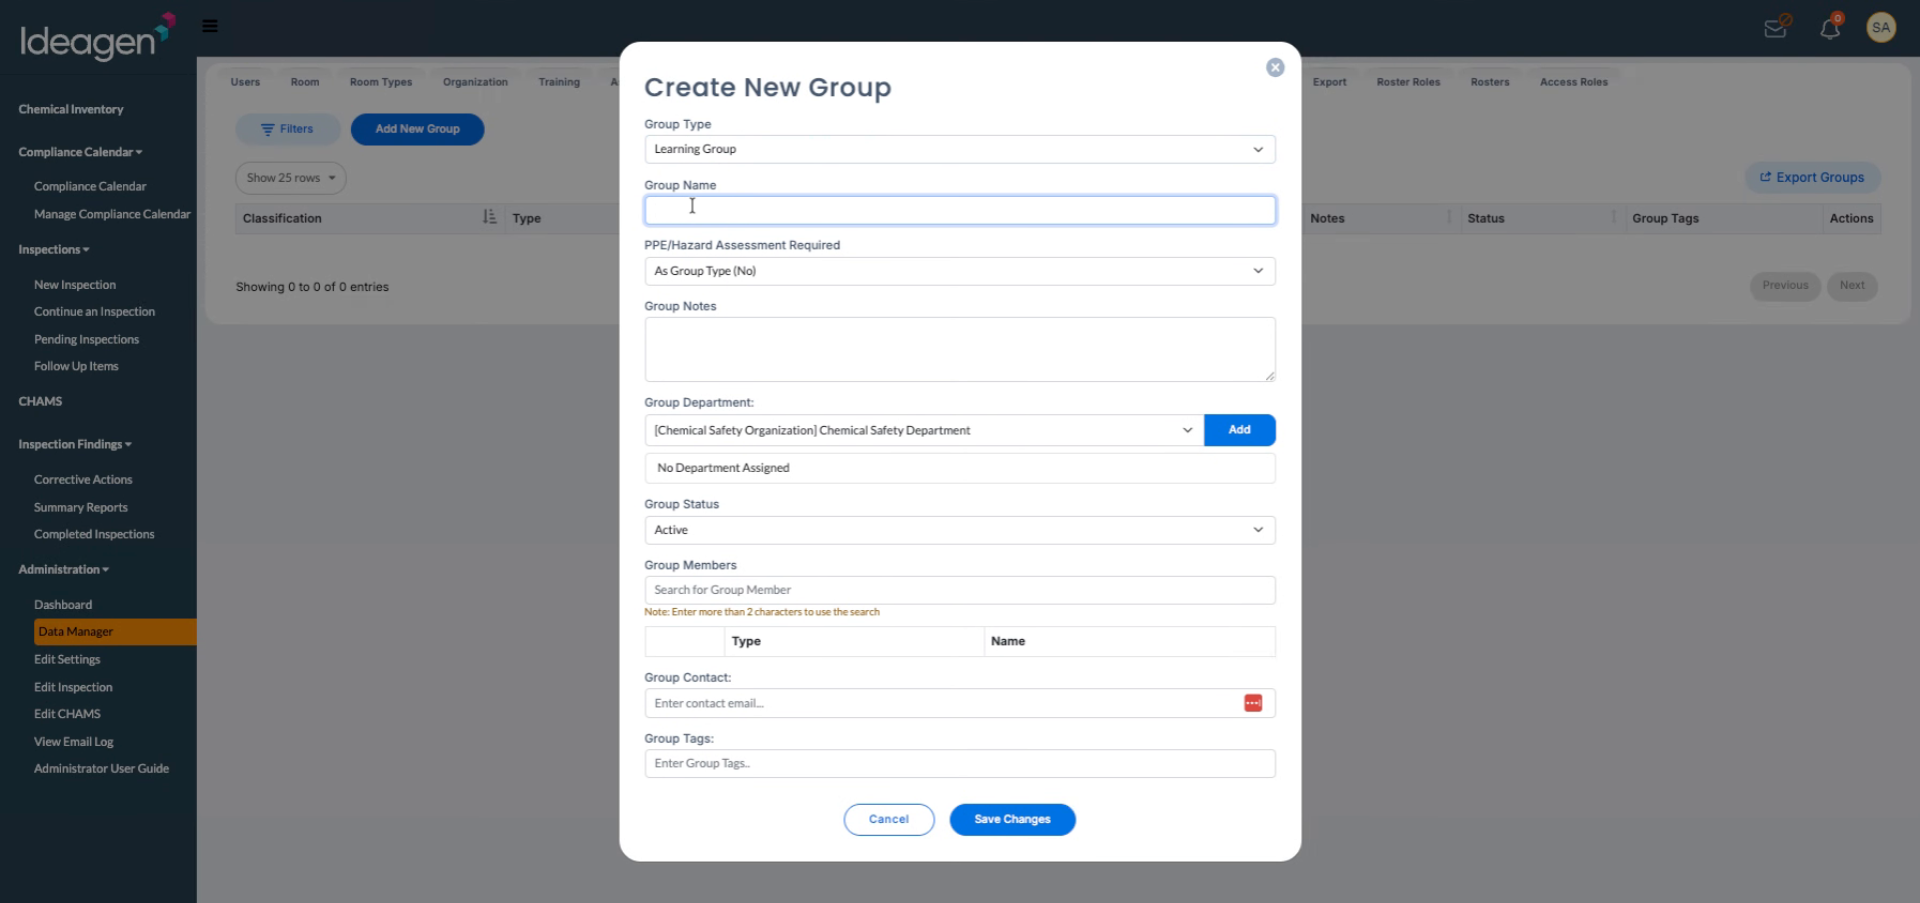
Click the Group Name field to prepare for entering the group's name.
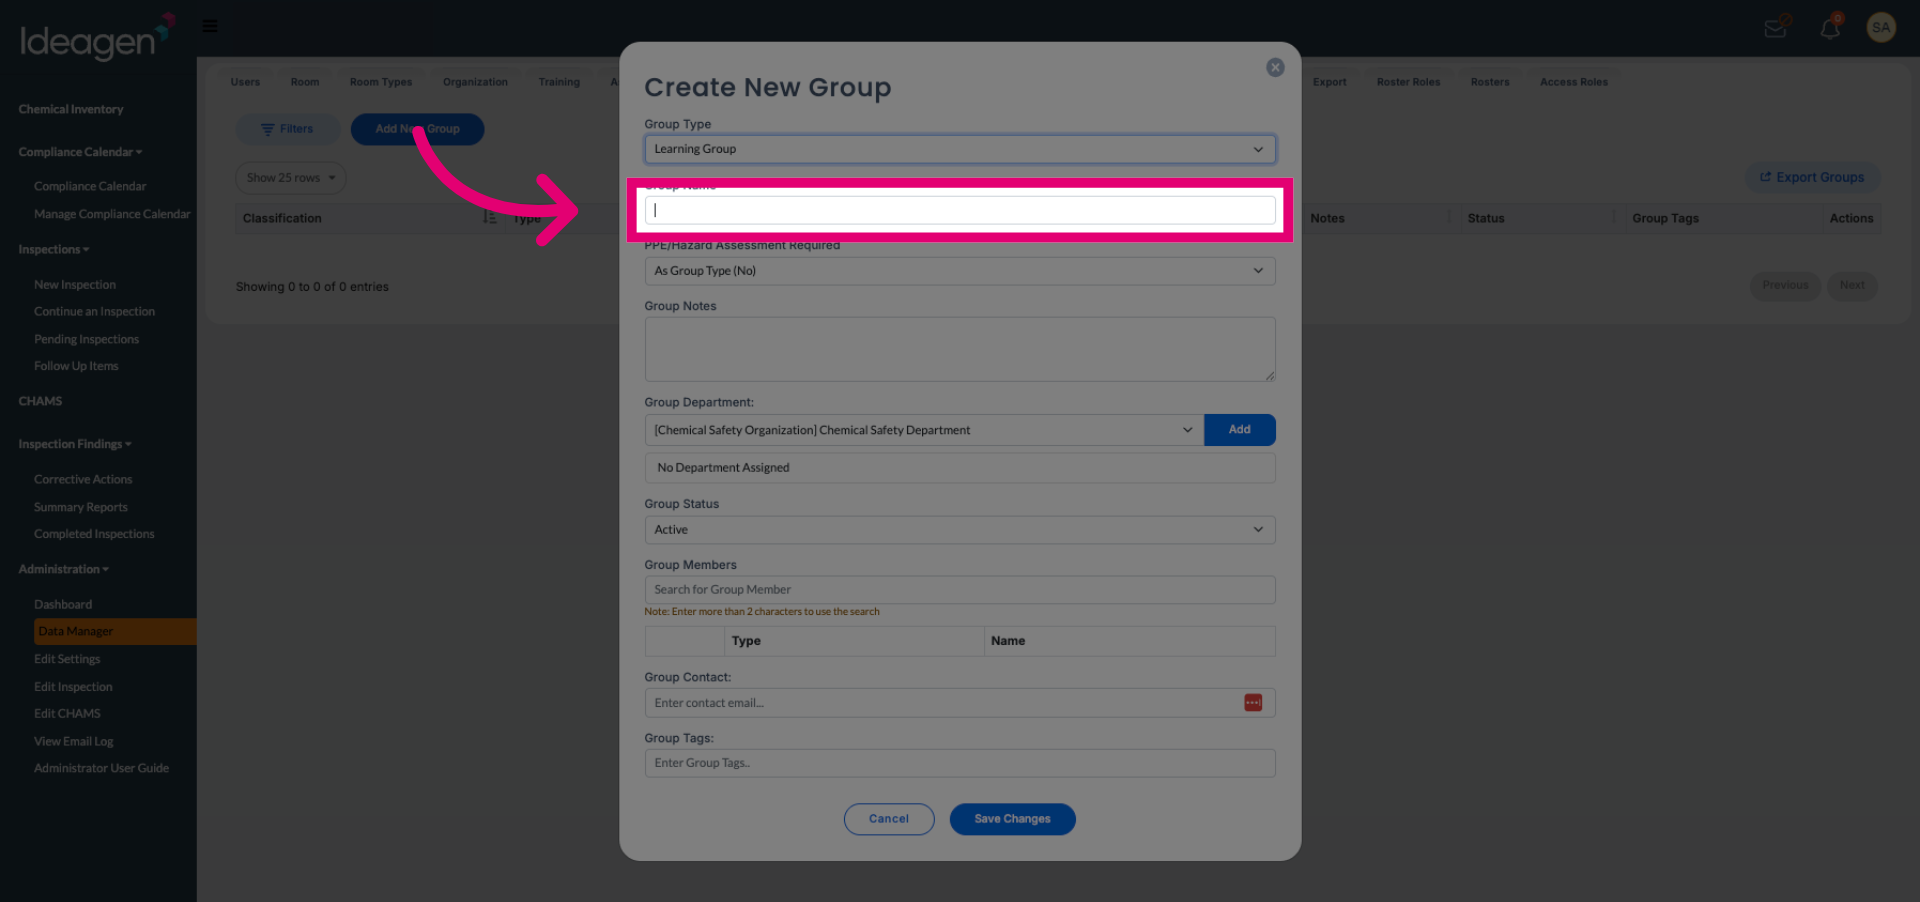
Enter your desired group name to identify the new group clearly.
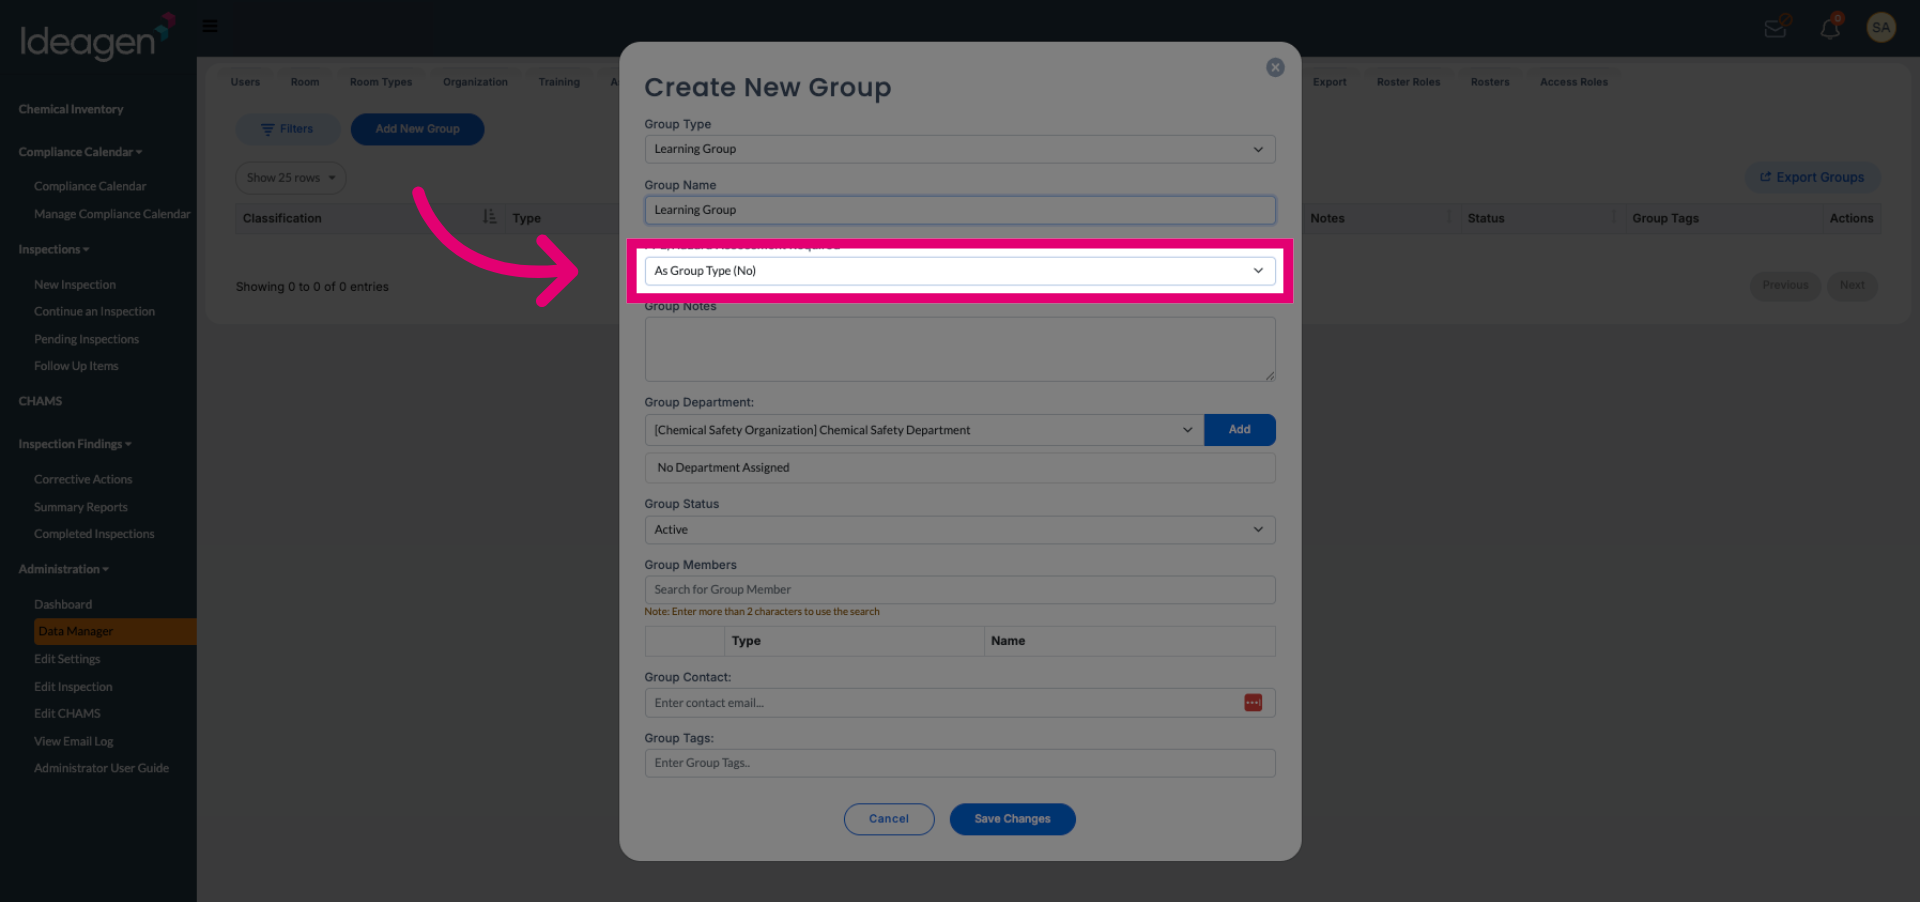
Click the option to specify whether this group is a particular group type, choosing Yes or No accordingly.
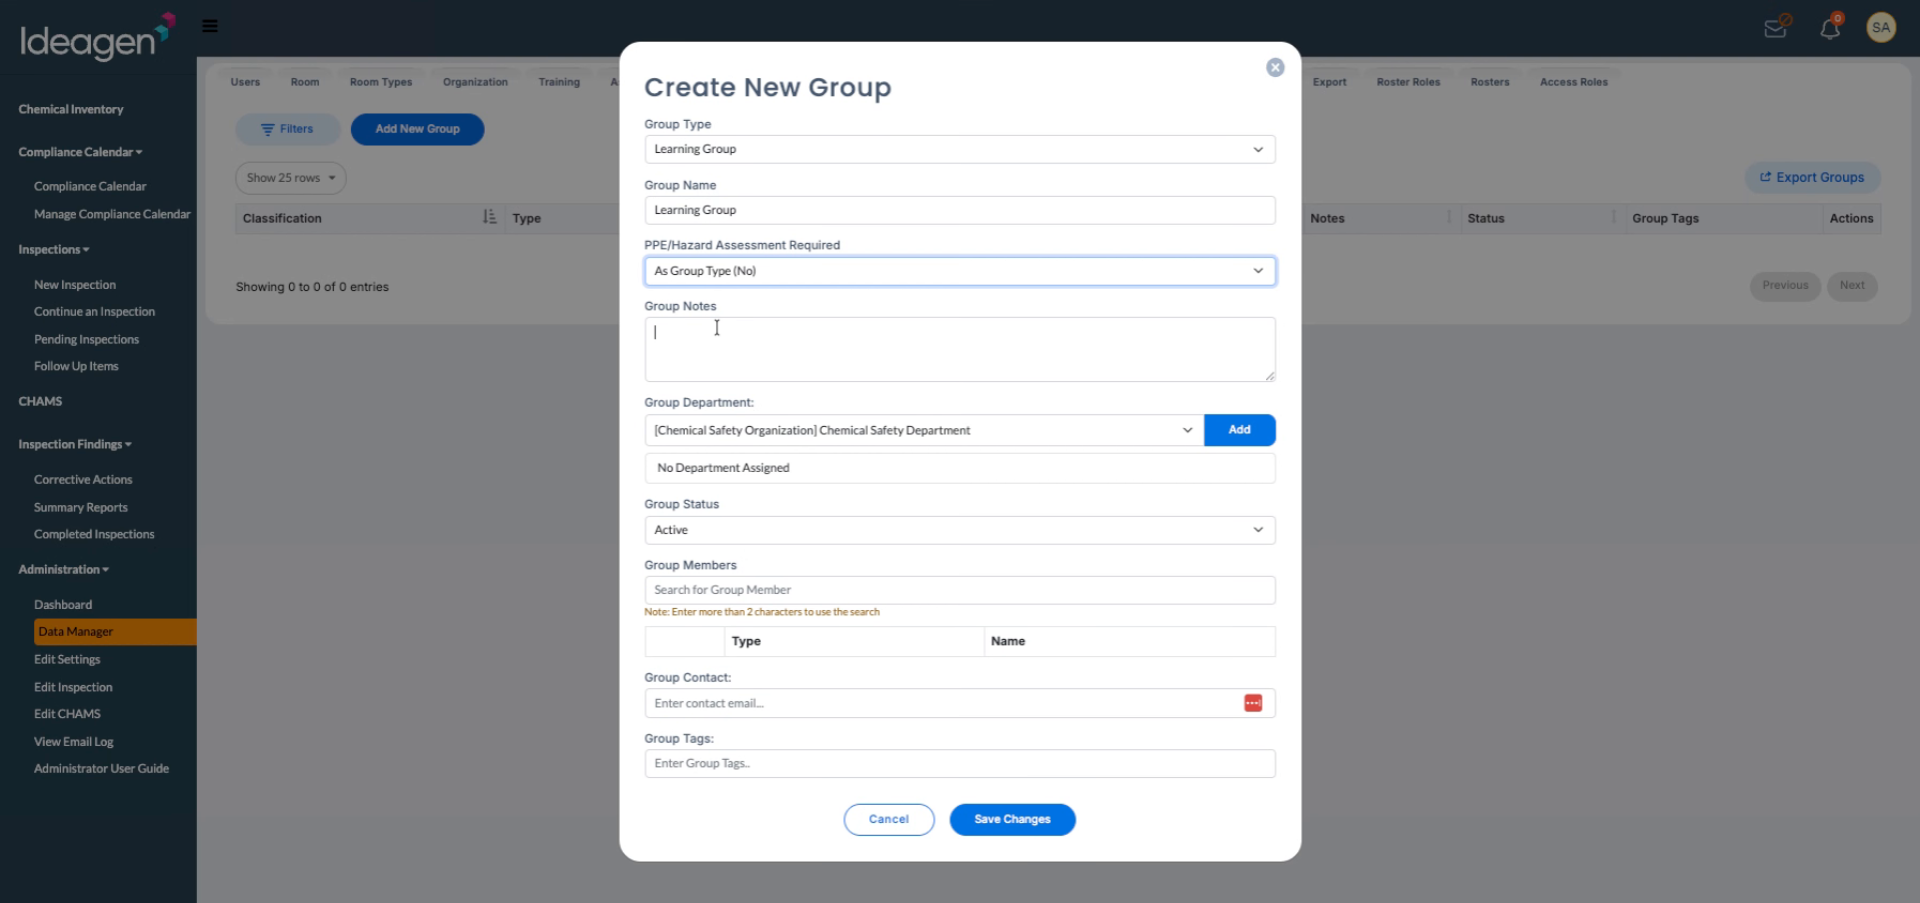
Click the Group Notes area to add any relevant notes or descriptions about the group.

Enter notes to provide additional context or information about the group.
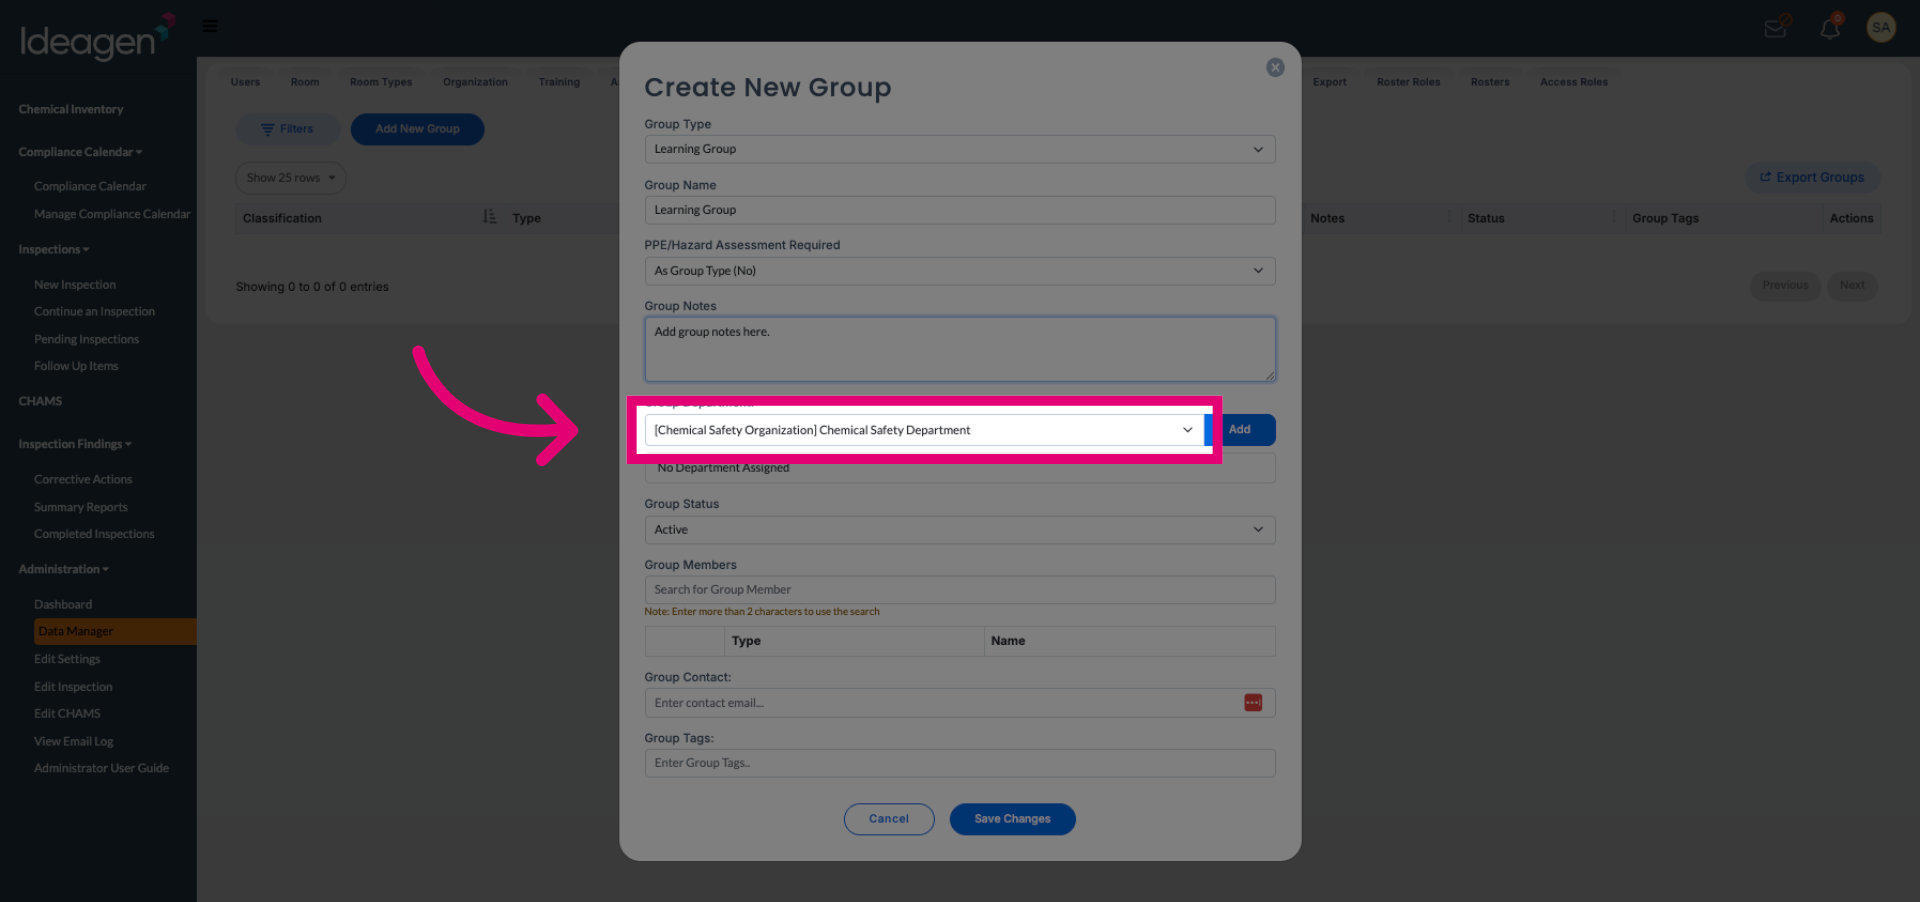
Click the Chemical Safety Department under Chemical Safety Organization to associate the group with the correct department.
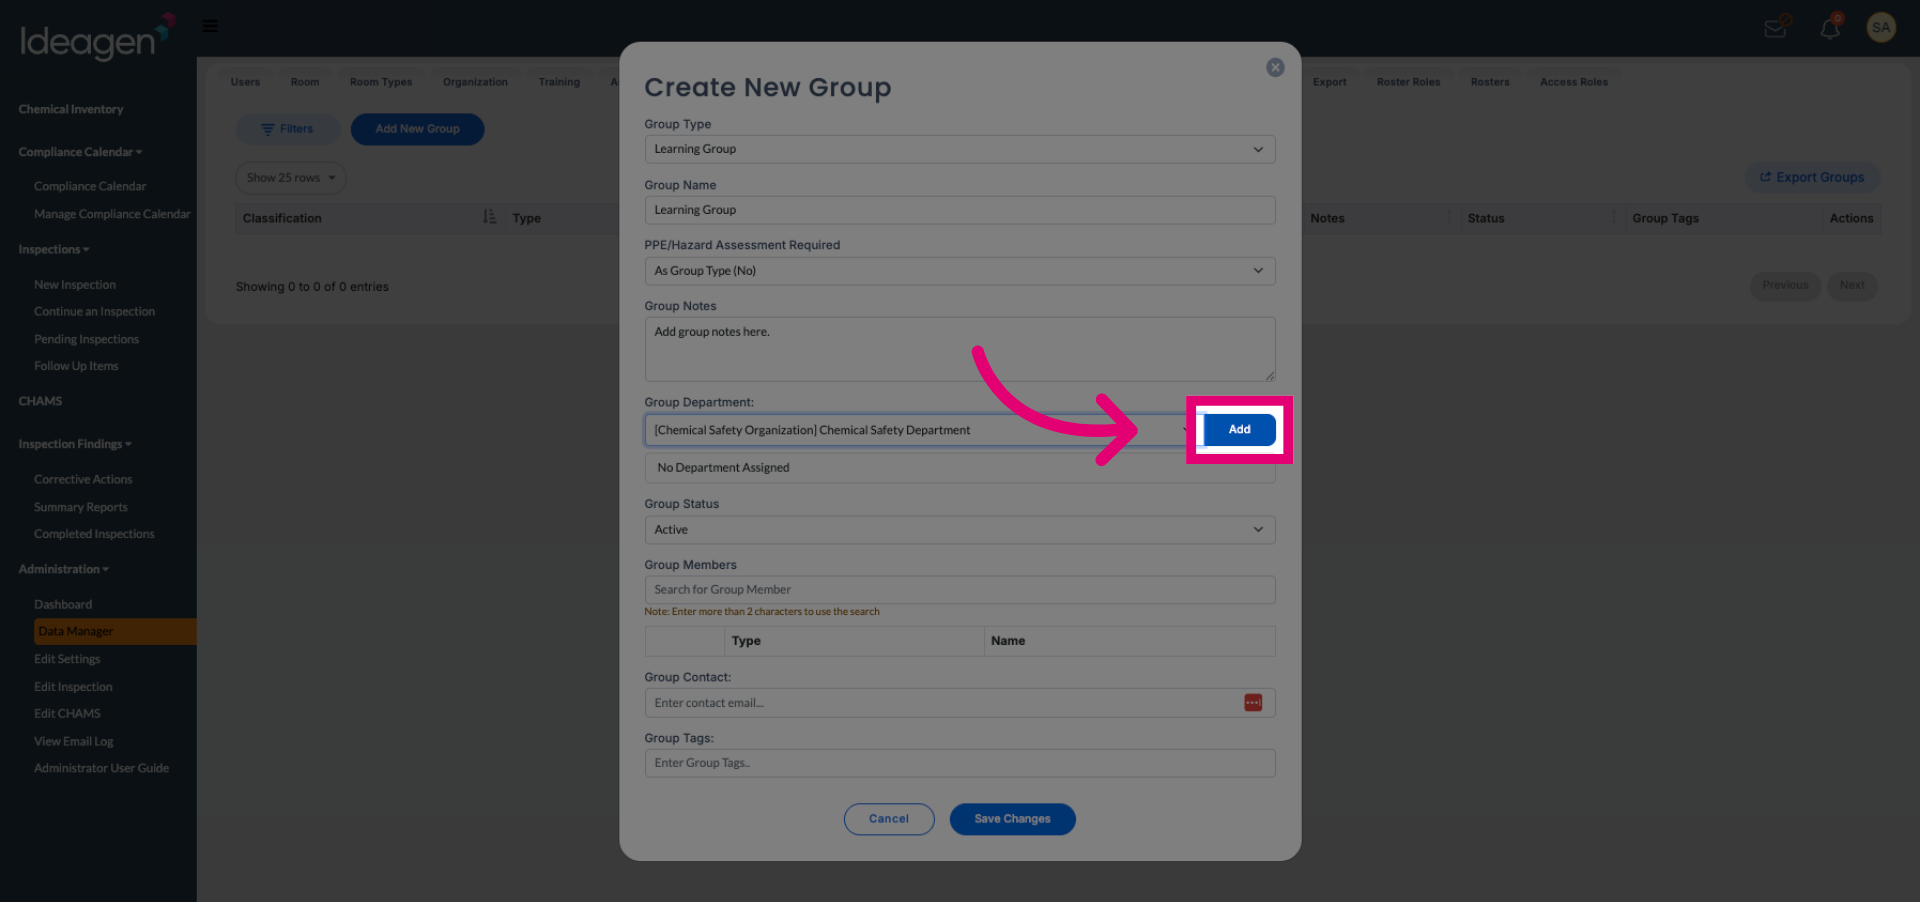
Click the Add button to link the selected department to your new group.
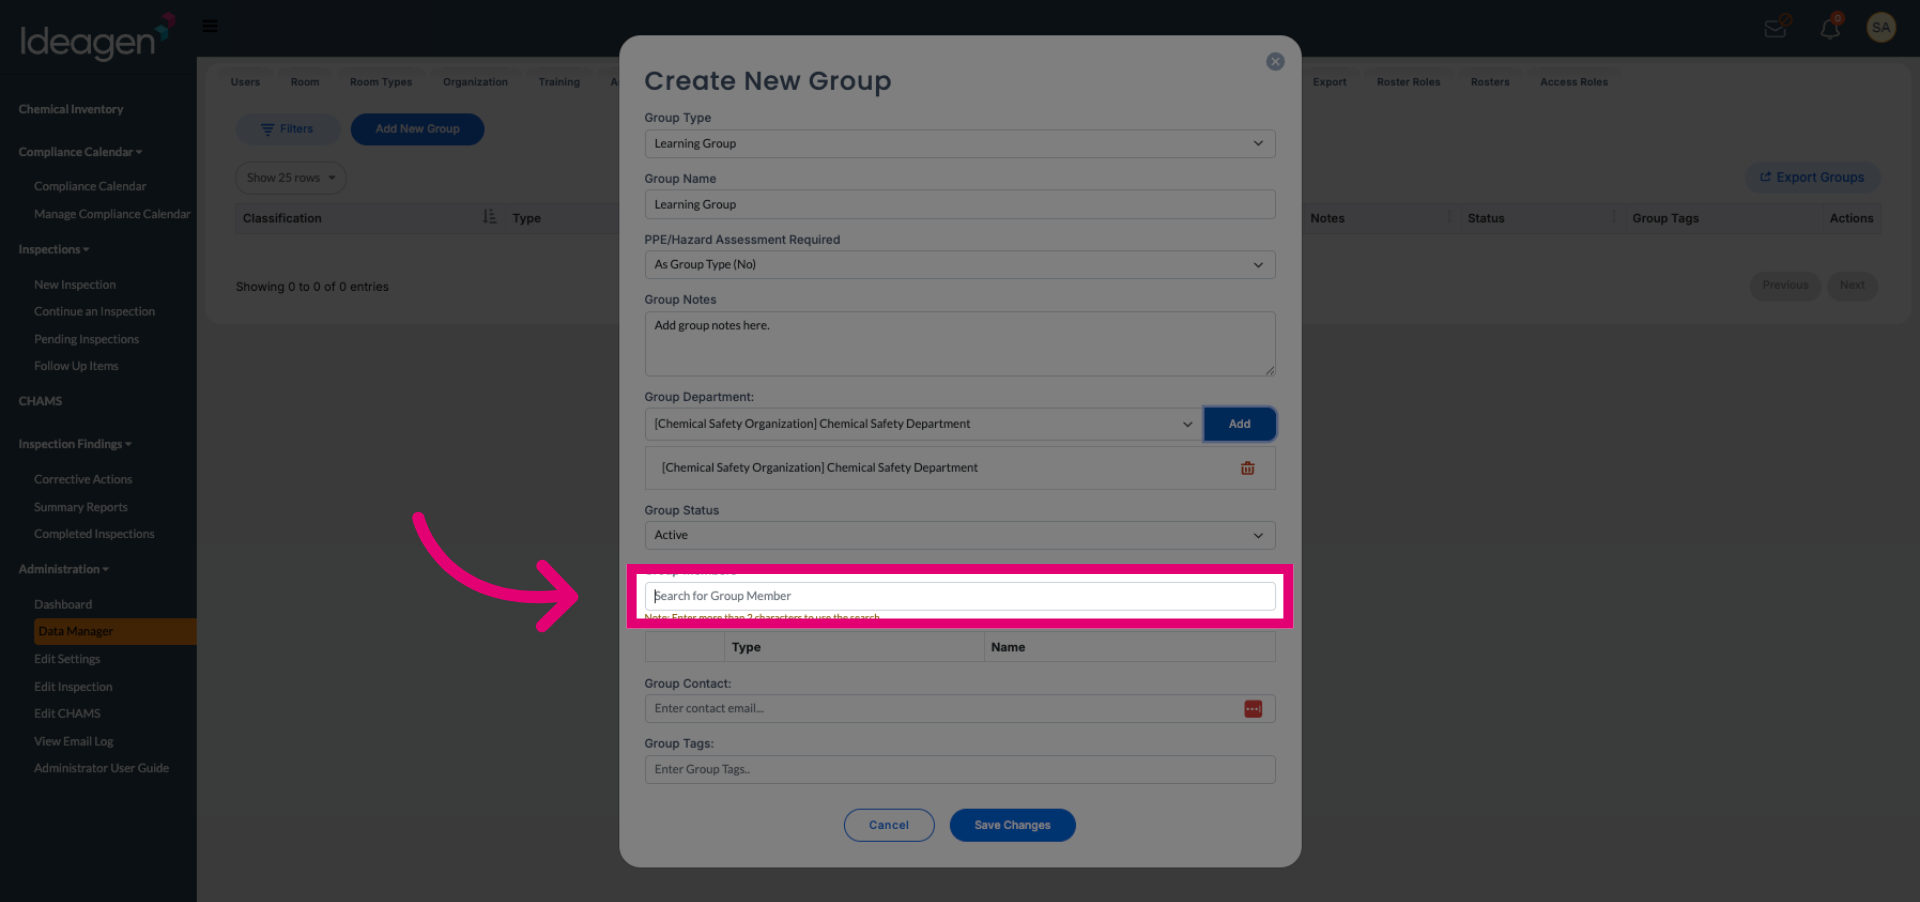
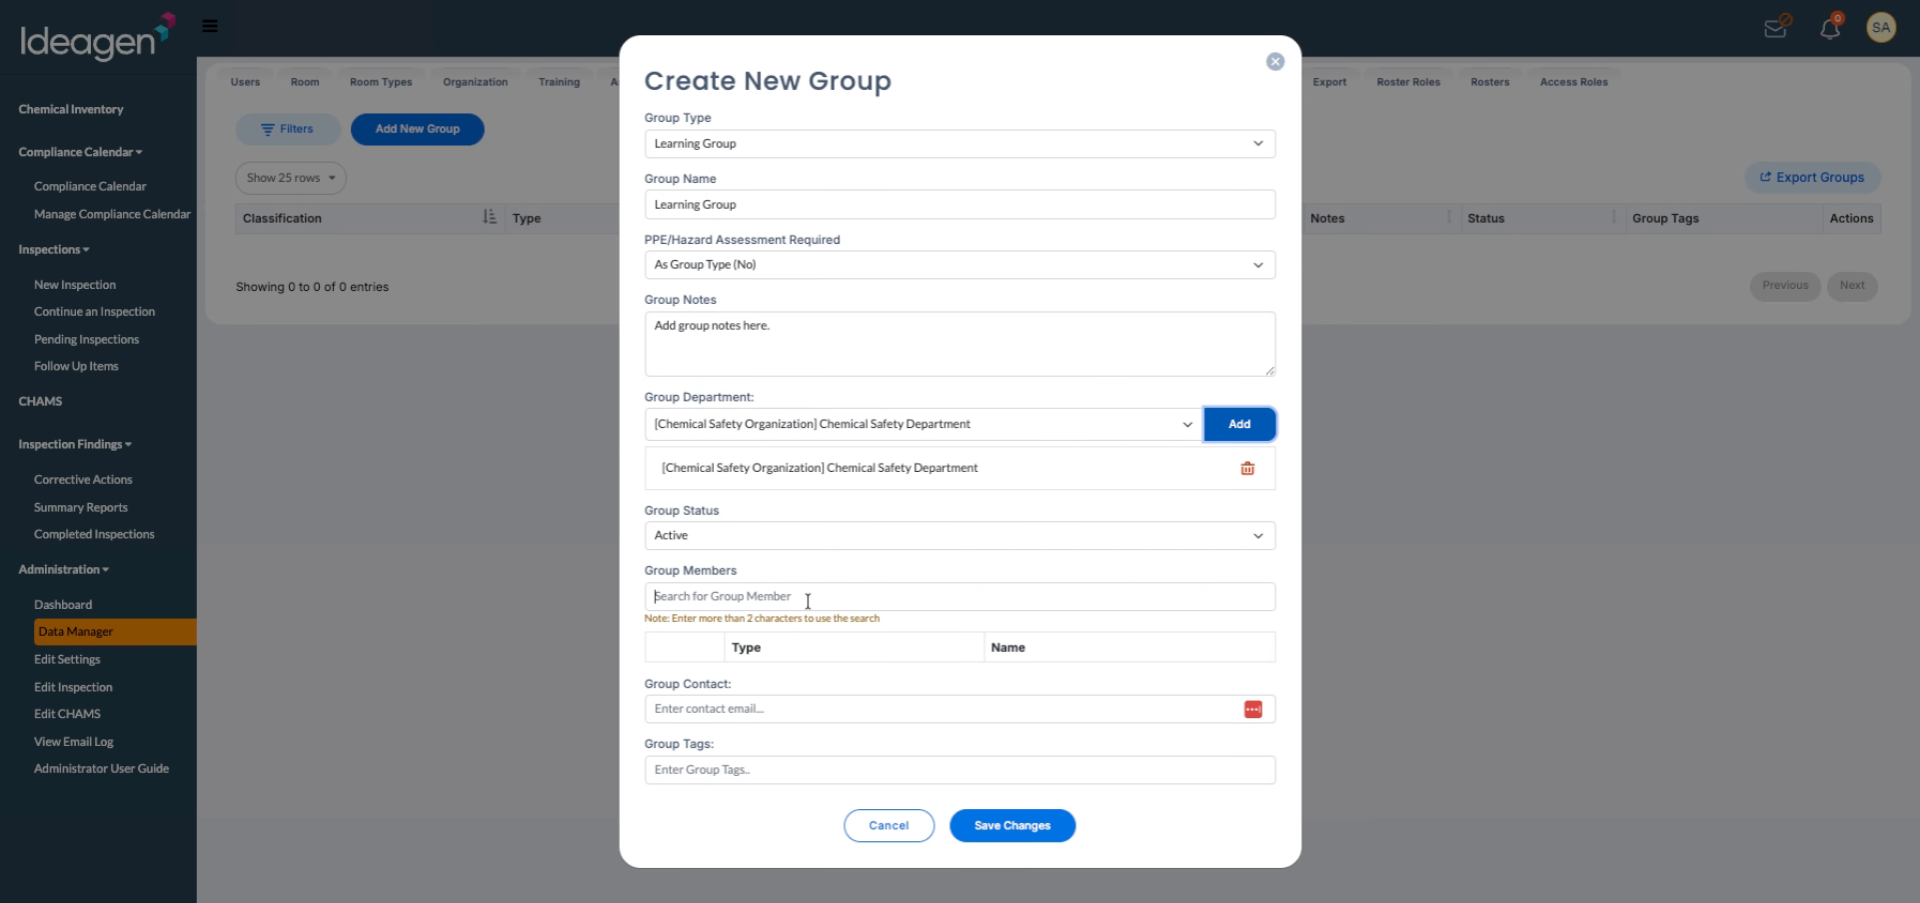
Click the Search for Group Member field to find and add members to your group.
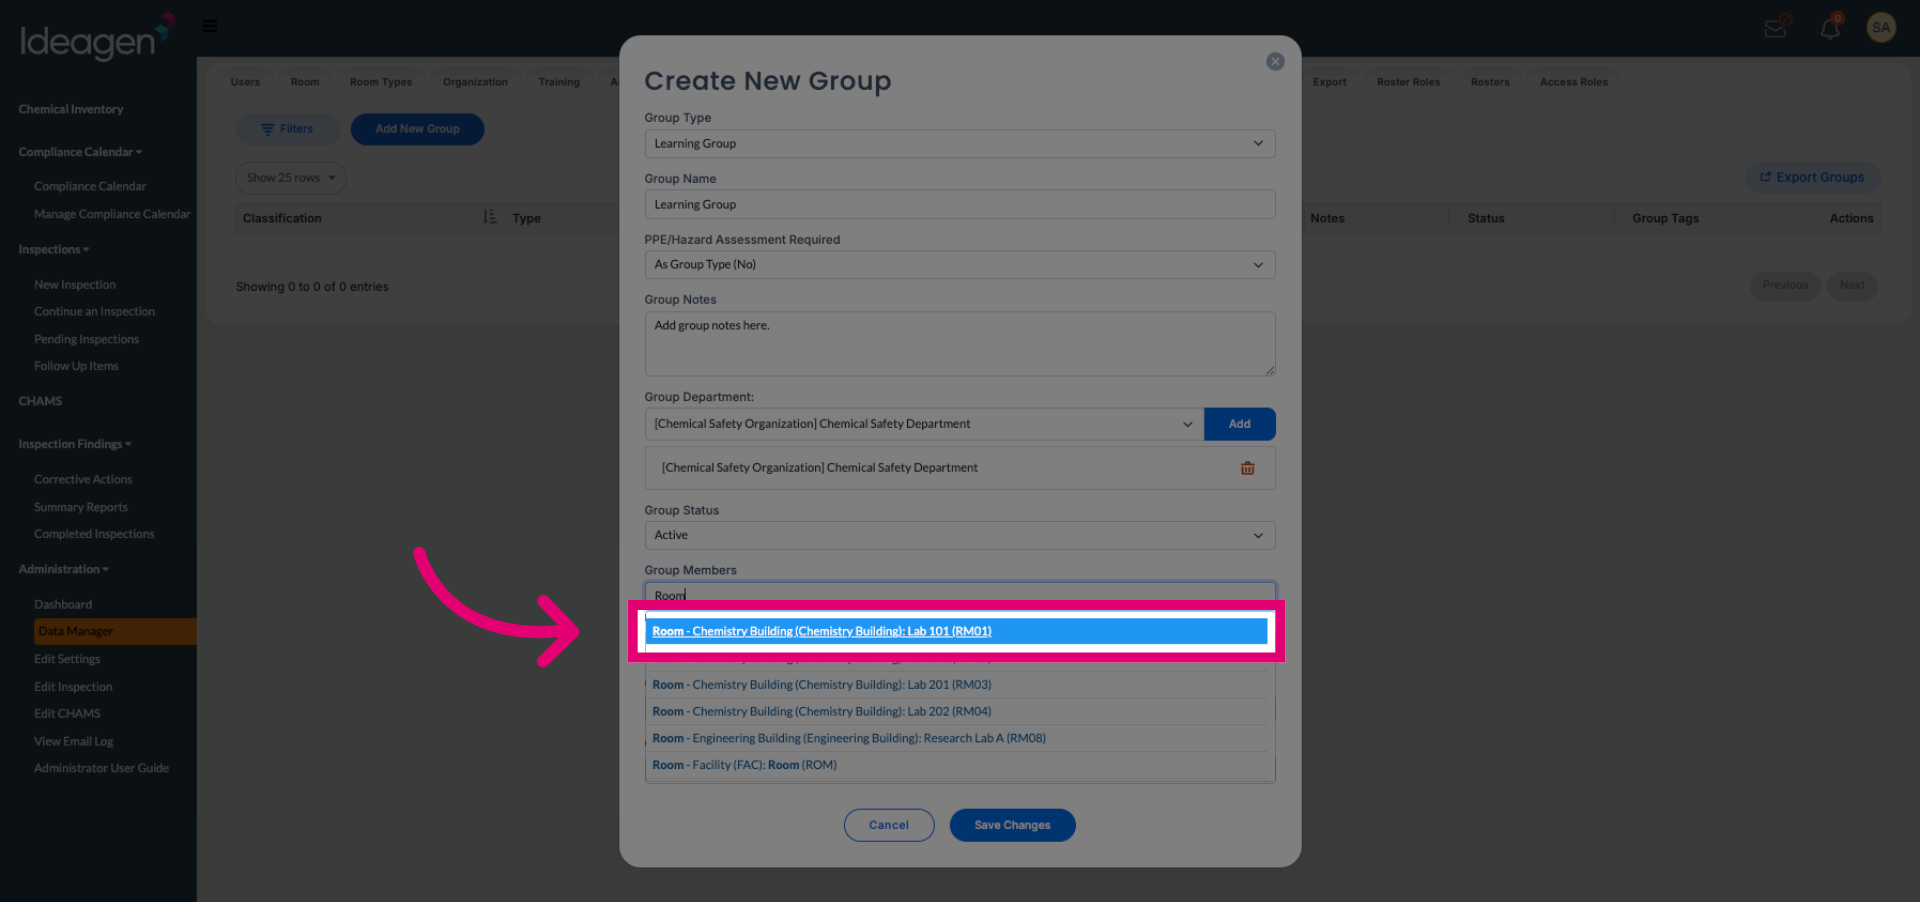
Enter the room or location to filter group members by their assigned area.
Click the specific room in the Chemistry Building to select the member's location.
Click Save Changes to finalize and create your new group with all specified settings.